Compositing Several Photographs (Manually)
Background
The portion of an image that is in focus can vary wildly, and this depth depends on the configuration of the lens. You might have a rolling landscape with distant clouds in focus, or you might have a tiny beetle be partially in focus with a focus plane that is less than 0.5mm deep. It might then be desirable to take multiple pictures with different focus points, and combine them to yield a "best of all worlds" result. That the final image might not be physically possible to produce in one shot with any lens is not necessarily a huge deal. It is the task of the discerning editor to produce a harmonious result given two or possibly many more inputs.
There does exist software that can mostly automate the process of creating composites. Whether the software works well depends on the temporal coherency between images. Shooting handheld introduces many small (or potentially huge) changes in position between images, which in turn requires the software to transform the images to all hopefully rest on top of each other. The result usually has a pretty bad ghosting effect. Additionally, if anything in your scene moves, such as wind blowing branches, or a bug twitching around, those changes will introduce more artifacts into the composite. Really, if you want an easy time, park your camera on a beanbag/sturdy tripod, use the built-in focus stacking feature if you camera is new/fancy enough to have one, and shoot something that's dead still.
I did none of these things, let's see how it turned out.
Starting Notes
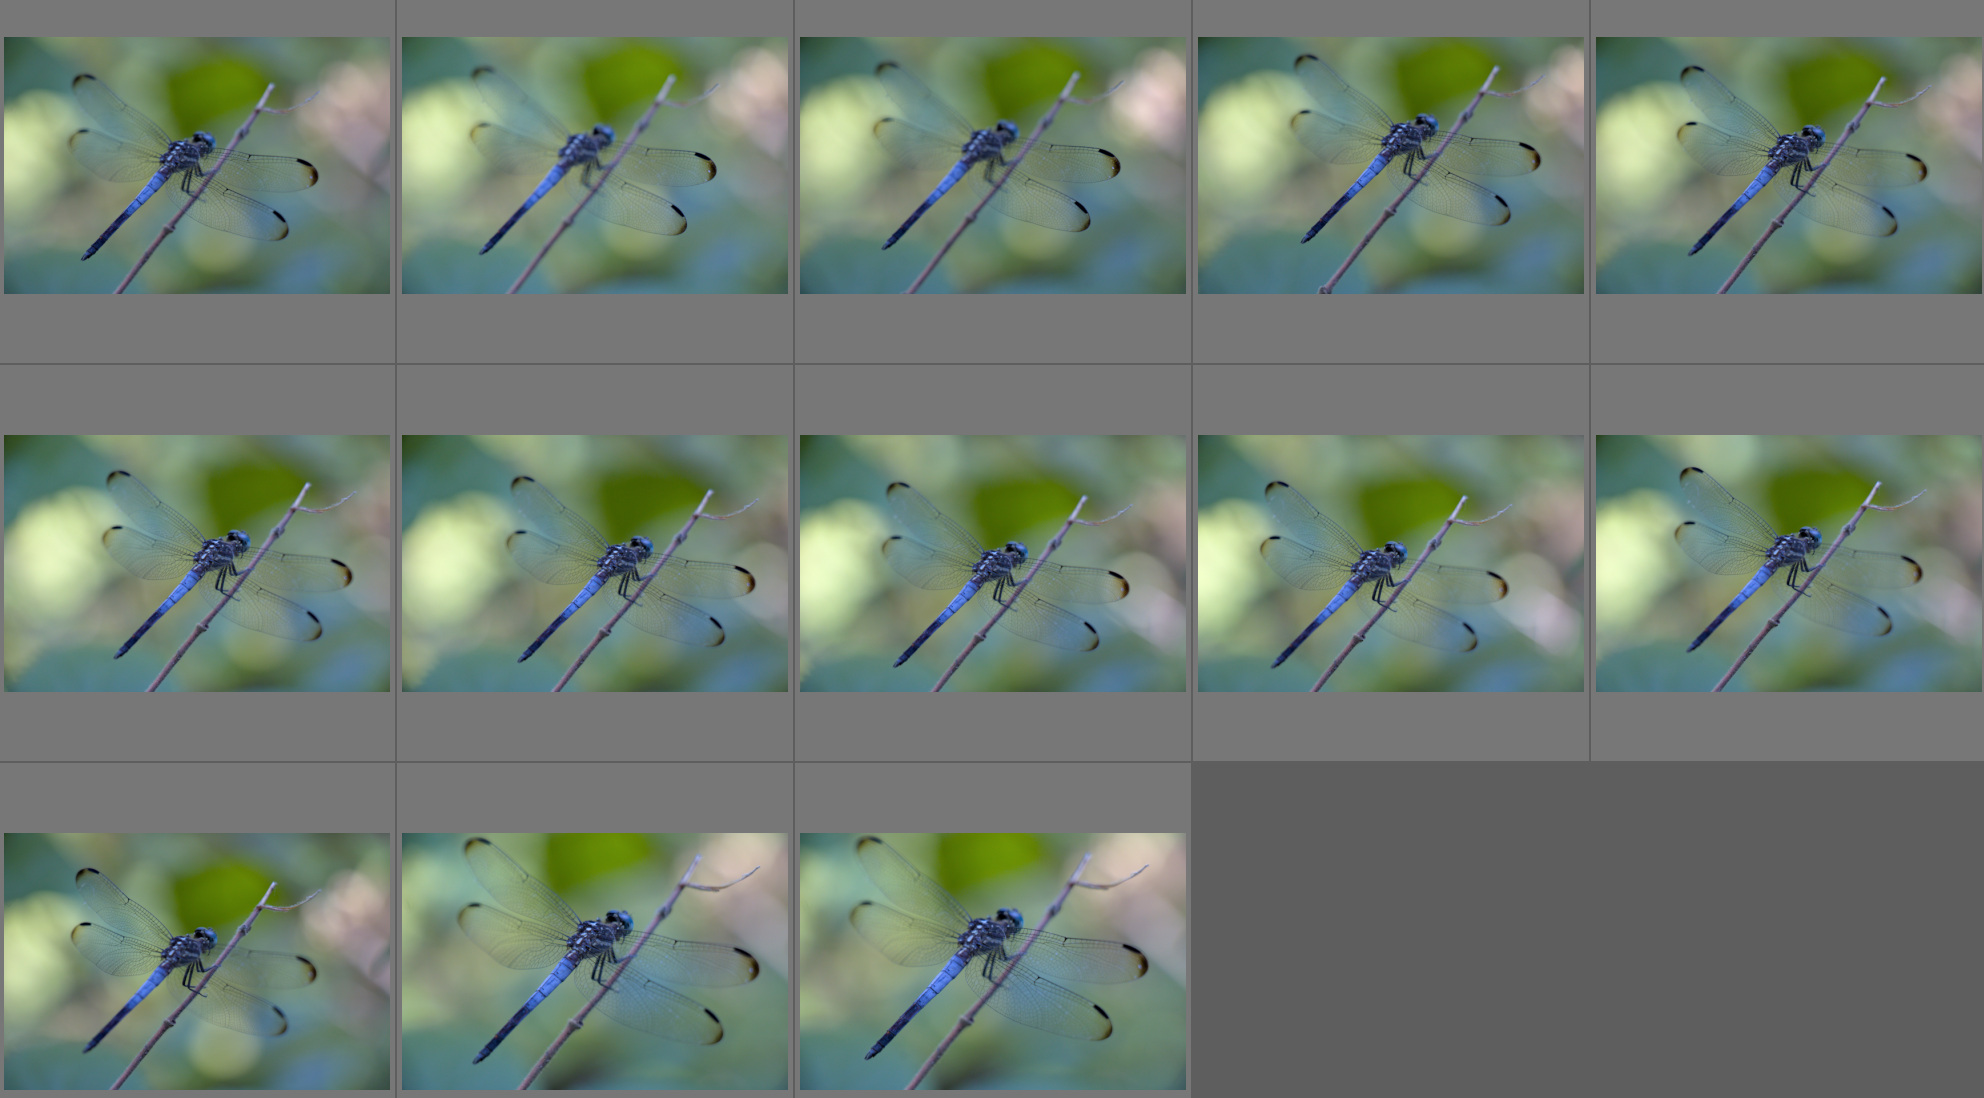
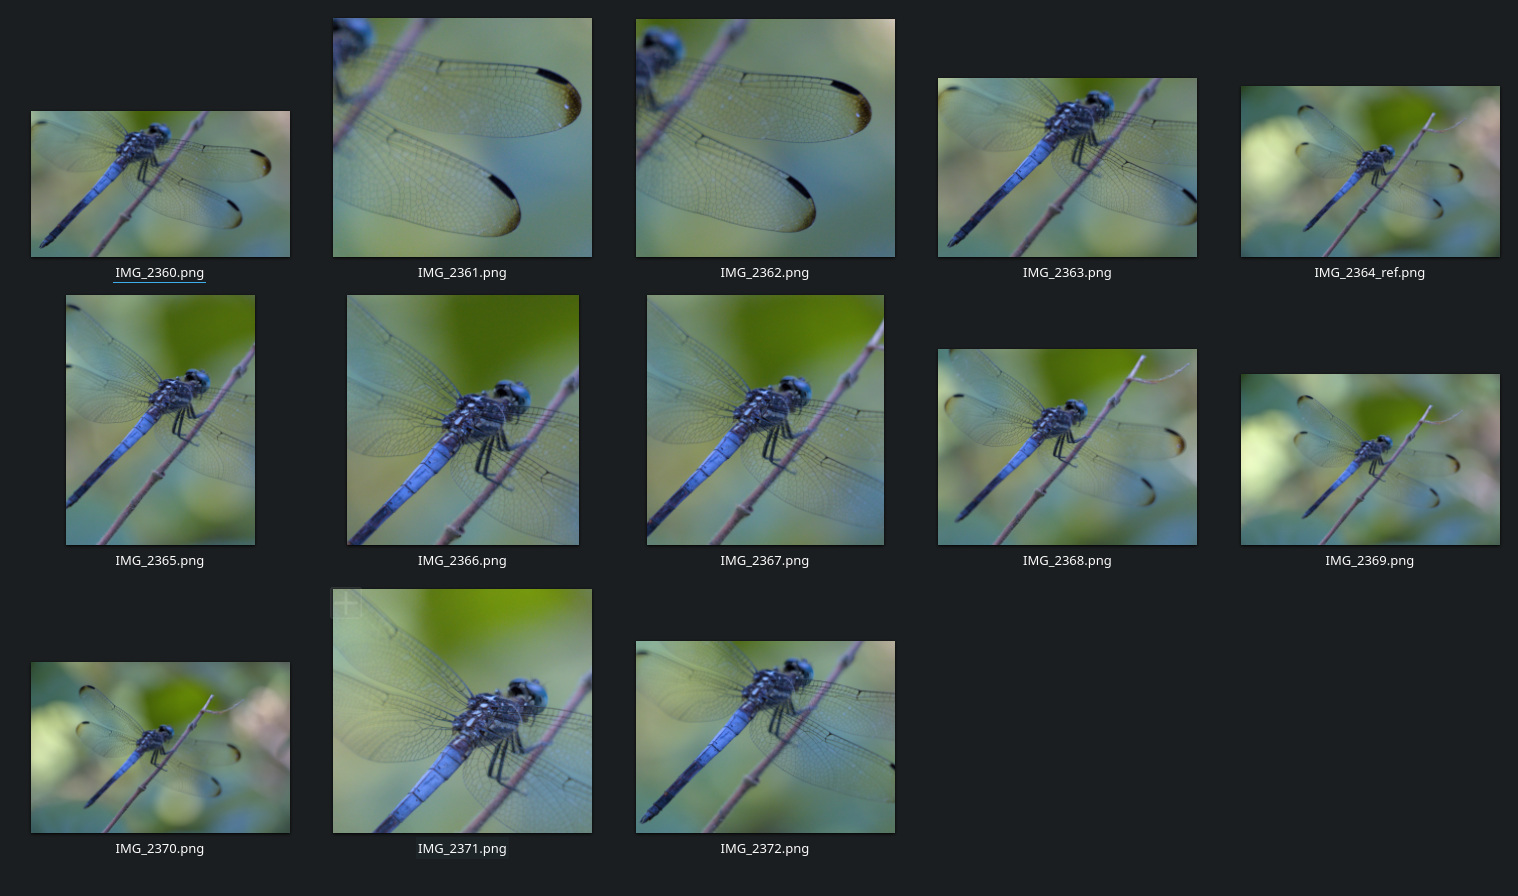
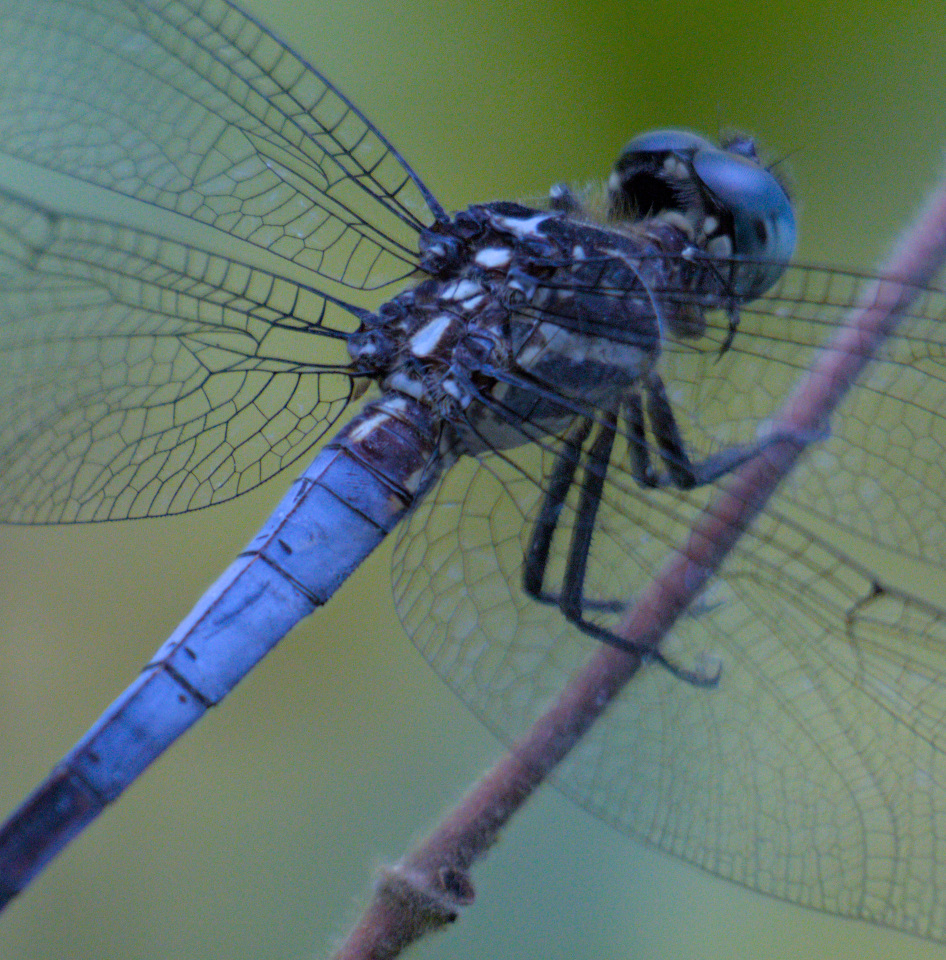
I have a few pictures of this dragonfly that I'd like to combine together. I'll be exporting 13 images from Canon RAW to PNG using darktable. I've done some basic adjustments to the batch that are outside the scope of this article. Whether all 13 images are used depends on whether each has unique information to add. These were shot handheld with a cheap DSLR with a bit of a breeze at the end of a hike in Texas summer heat. Not exactly ideal circumstances, but a good attitude will help alleviate the non-technical hindrances.
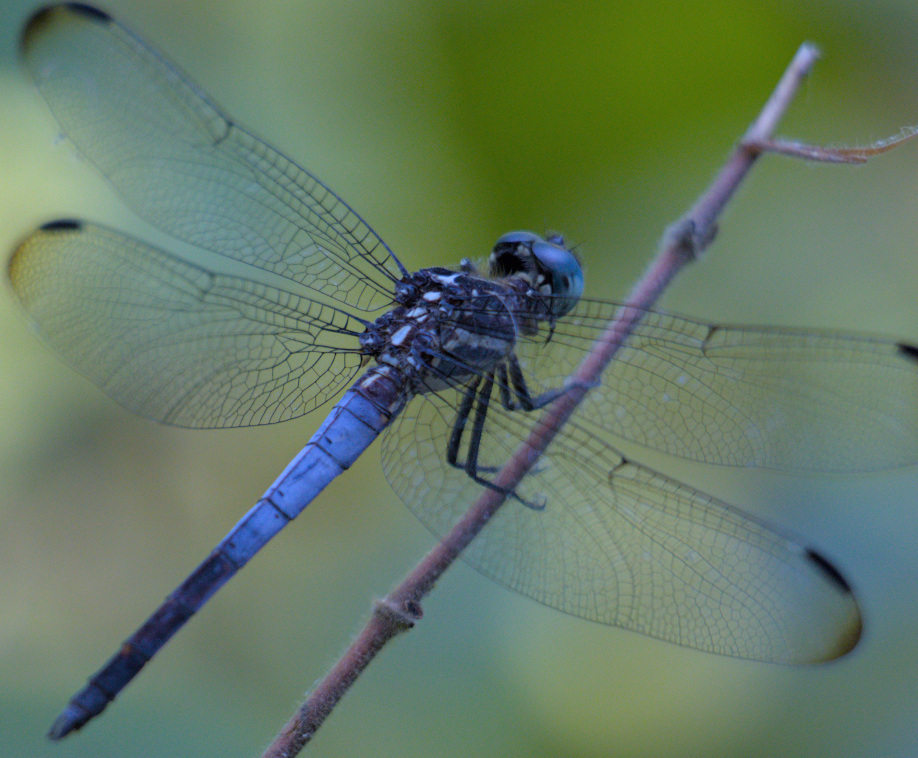
Note that this particular composite is unusually difficult. We've got these huge, mostly see-through wings, and legs and a branch that are mostly visible under them. The background bleeds through the wings and colors the structure, and the location of the colors changes between shots, as does the perspective. I would definitely suggest trying this kind of challenge to develop your editing skills, but start with something cleaner and without large transparent elements. This edit was HARD.
The first thing I did was make a copy of the images and crop the copies to the portions of them that I might use. I decided that a particular shot would define the composition of the image, and the other pictures would be aligned to it. Roughly aligning the images, I went through each layer and thought of names for them based on what they had in focus. My approach with this composite will be to first align a closeup of the dragonfly's body with the reference, blend the two, and work outwards with each new alignment.
I approach this project with the idea that the shots will each be slightly different, and I will not be able to exactly align anything with the reference. The edges of the wings might be slightly off, the legs might be at a different angle, the branch might not line up. What's important at each step is to have the portion of the additional layer that is in focus be in good alignment. I'll paint in the opacity with a transparency mask and use a bit of digital painting skill to get a good transition between photos.
You can see in this image that a small shift in angle does not matter much on the surface of the dragonfly, but it's enough movement to totally change the location of the blurred leaves in the background.
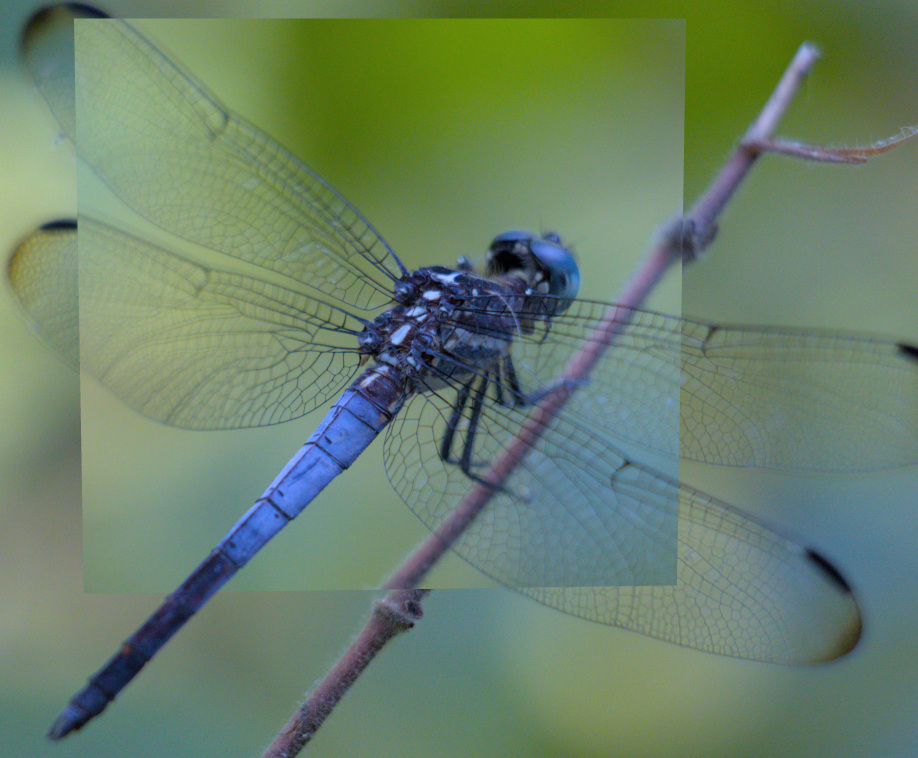
This is a bit of a tangent, but the change in rotation that you're able to clearly see in that example is potentially enough information for a special kind of model to recreate the scene in 3d (kind of). If that idea intrigues you, do a search for "neural radiance fields."
Editing in Earnest
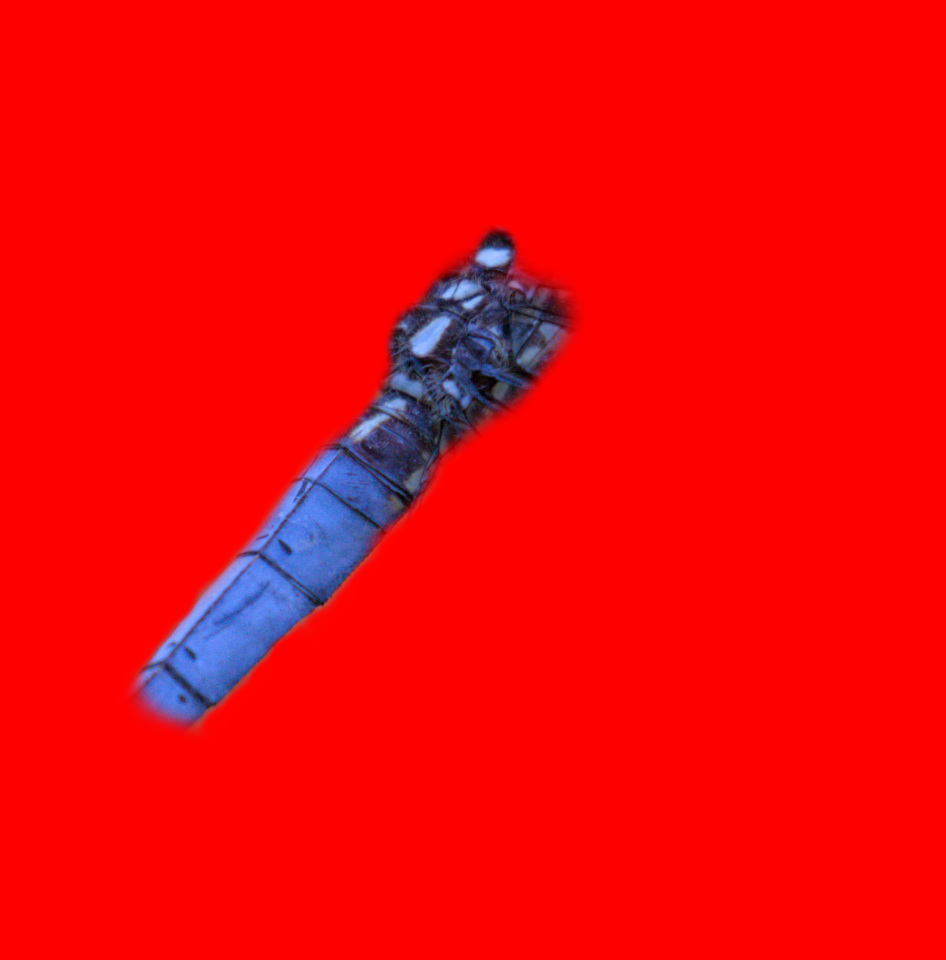
Ok, back to editing. I'll show the general approach once, and you can assume that I'll go and do something similar a bunch of times. This before-after with the edited portion isolated against a red backdrop should explain everything. With that, I've decided which details to pull from that image, and it's now a bit easier to do the final perspective/transformation corrections. I can spend as long as I like getting the edges clean, but there are diminishing returns for the effort. I clean up a bit more than you see there and move on.

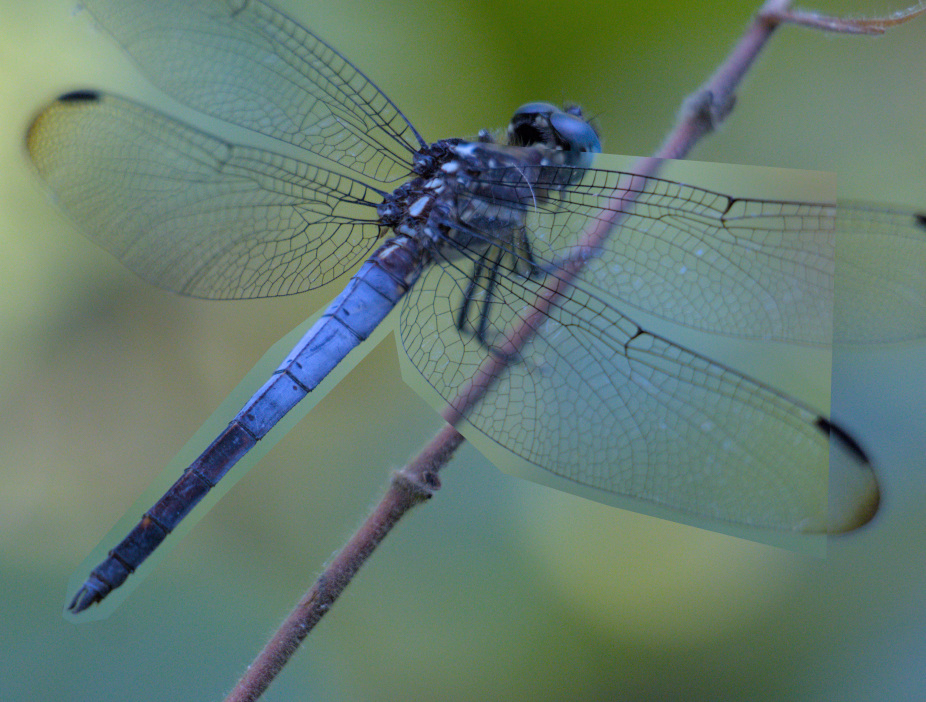
This next image with some better wing detail presents us with a bit of an issue. You can see that everything under that nice sharp wing is blurry, plus the background is a different color. There are a number of ways to solve this- image editing is about decision-making and then having the ability to carry out decisions. The way I'm going to do this one is by taking the image with my favorite background, editing the dragonfly and branch out of it, then rebuild it piece-by-piece using whatever modifications are necessary to get each layer to blend. For example, I could easily combine the wing detail onto a background by setting its blend mode to "darken," but I'm not willing to lose those reflections.
There is an absolute boatload of editing that went on after this point, and it might be best summed up by this little video:
I'm starting at the bottom of the layer stack and revealing each layer, then any masks/adjustment layers it has. This video doesn't give a great view of the witchcraft I had to do to put the right wings over the legs and branch, so here's a closeup of that, revealing layers from the top down:
Just watching this, I can see plenty of deficiencies in the edit. One that I don't have a great way around is that I don't have a shot with the middle of the top right wing in focus. A photo near the end of the clip is slightly more defined and I probably should have used more details from that particular photo, but I digress.
I ended up taking a layer with just the legs and branch and masking out everything else. Below this layer is a sharp picture of the wings, but the legs and branch in that image are out of alignment and blurry, so I had to mask that out and add another layer under that one where I clone brushed those unwanted features out. This could have been done by directly clone brushing the legs and branch out of the one layer, but it's an easier composite to do in two layers.
To add the wing detail back over the legs and branch, I took a copy of the clean wing and placed it in a layer on top. Then I painstakingly transparency masked out the see-through areas. The entire image has a big color correction layer to help tie the dragonfly, which is made up of about 11 images, together with the background. There are a couple extra color correction layers to fix the portion of wing over the branch and the area under the head; this could have all been done with one color correction layer but sometimes it's mentally easier to split things.
Mixing together various images to form the body/tail is not too hard, it's just a case of roughly lining them up and making sure the transitions aren't obvious. The wings here are tougher because of the colors behind them, so I ended up treating them kind of like opaque objects. I first matched up the positioning of each layer, added transparency masks (how surprising) and filled them with black (which makes none of the layer visible). Then I painted the masks white only in the areas where it seemed I was adding detail. Finally, I use the same mask and painting technique to blend the new layer in, trying to hide any slight misalignments of details. Gradually fading one layer over the top of another was enough to deal with part of the color disparity between them.
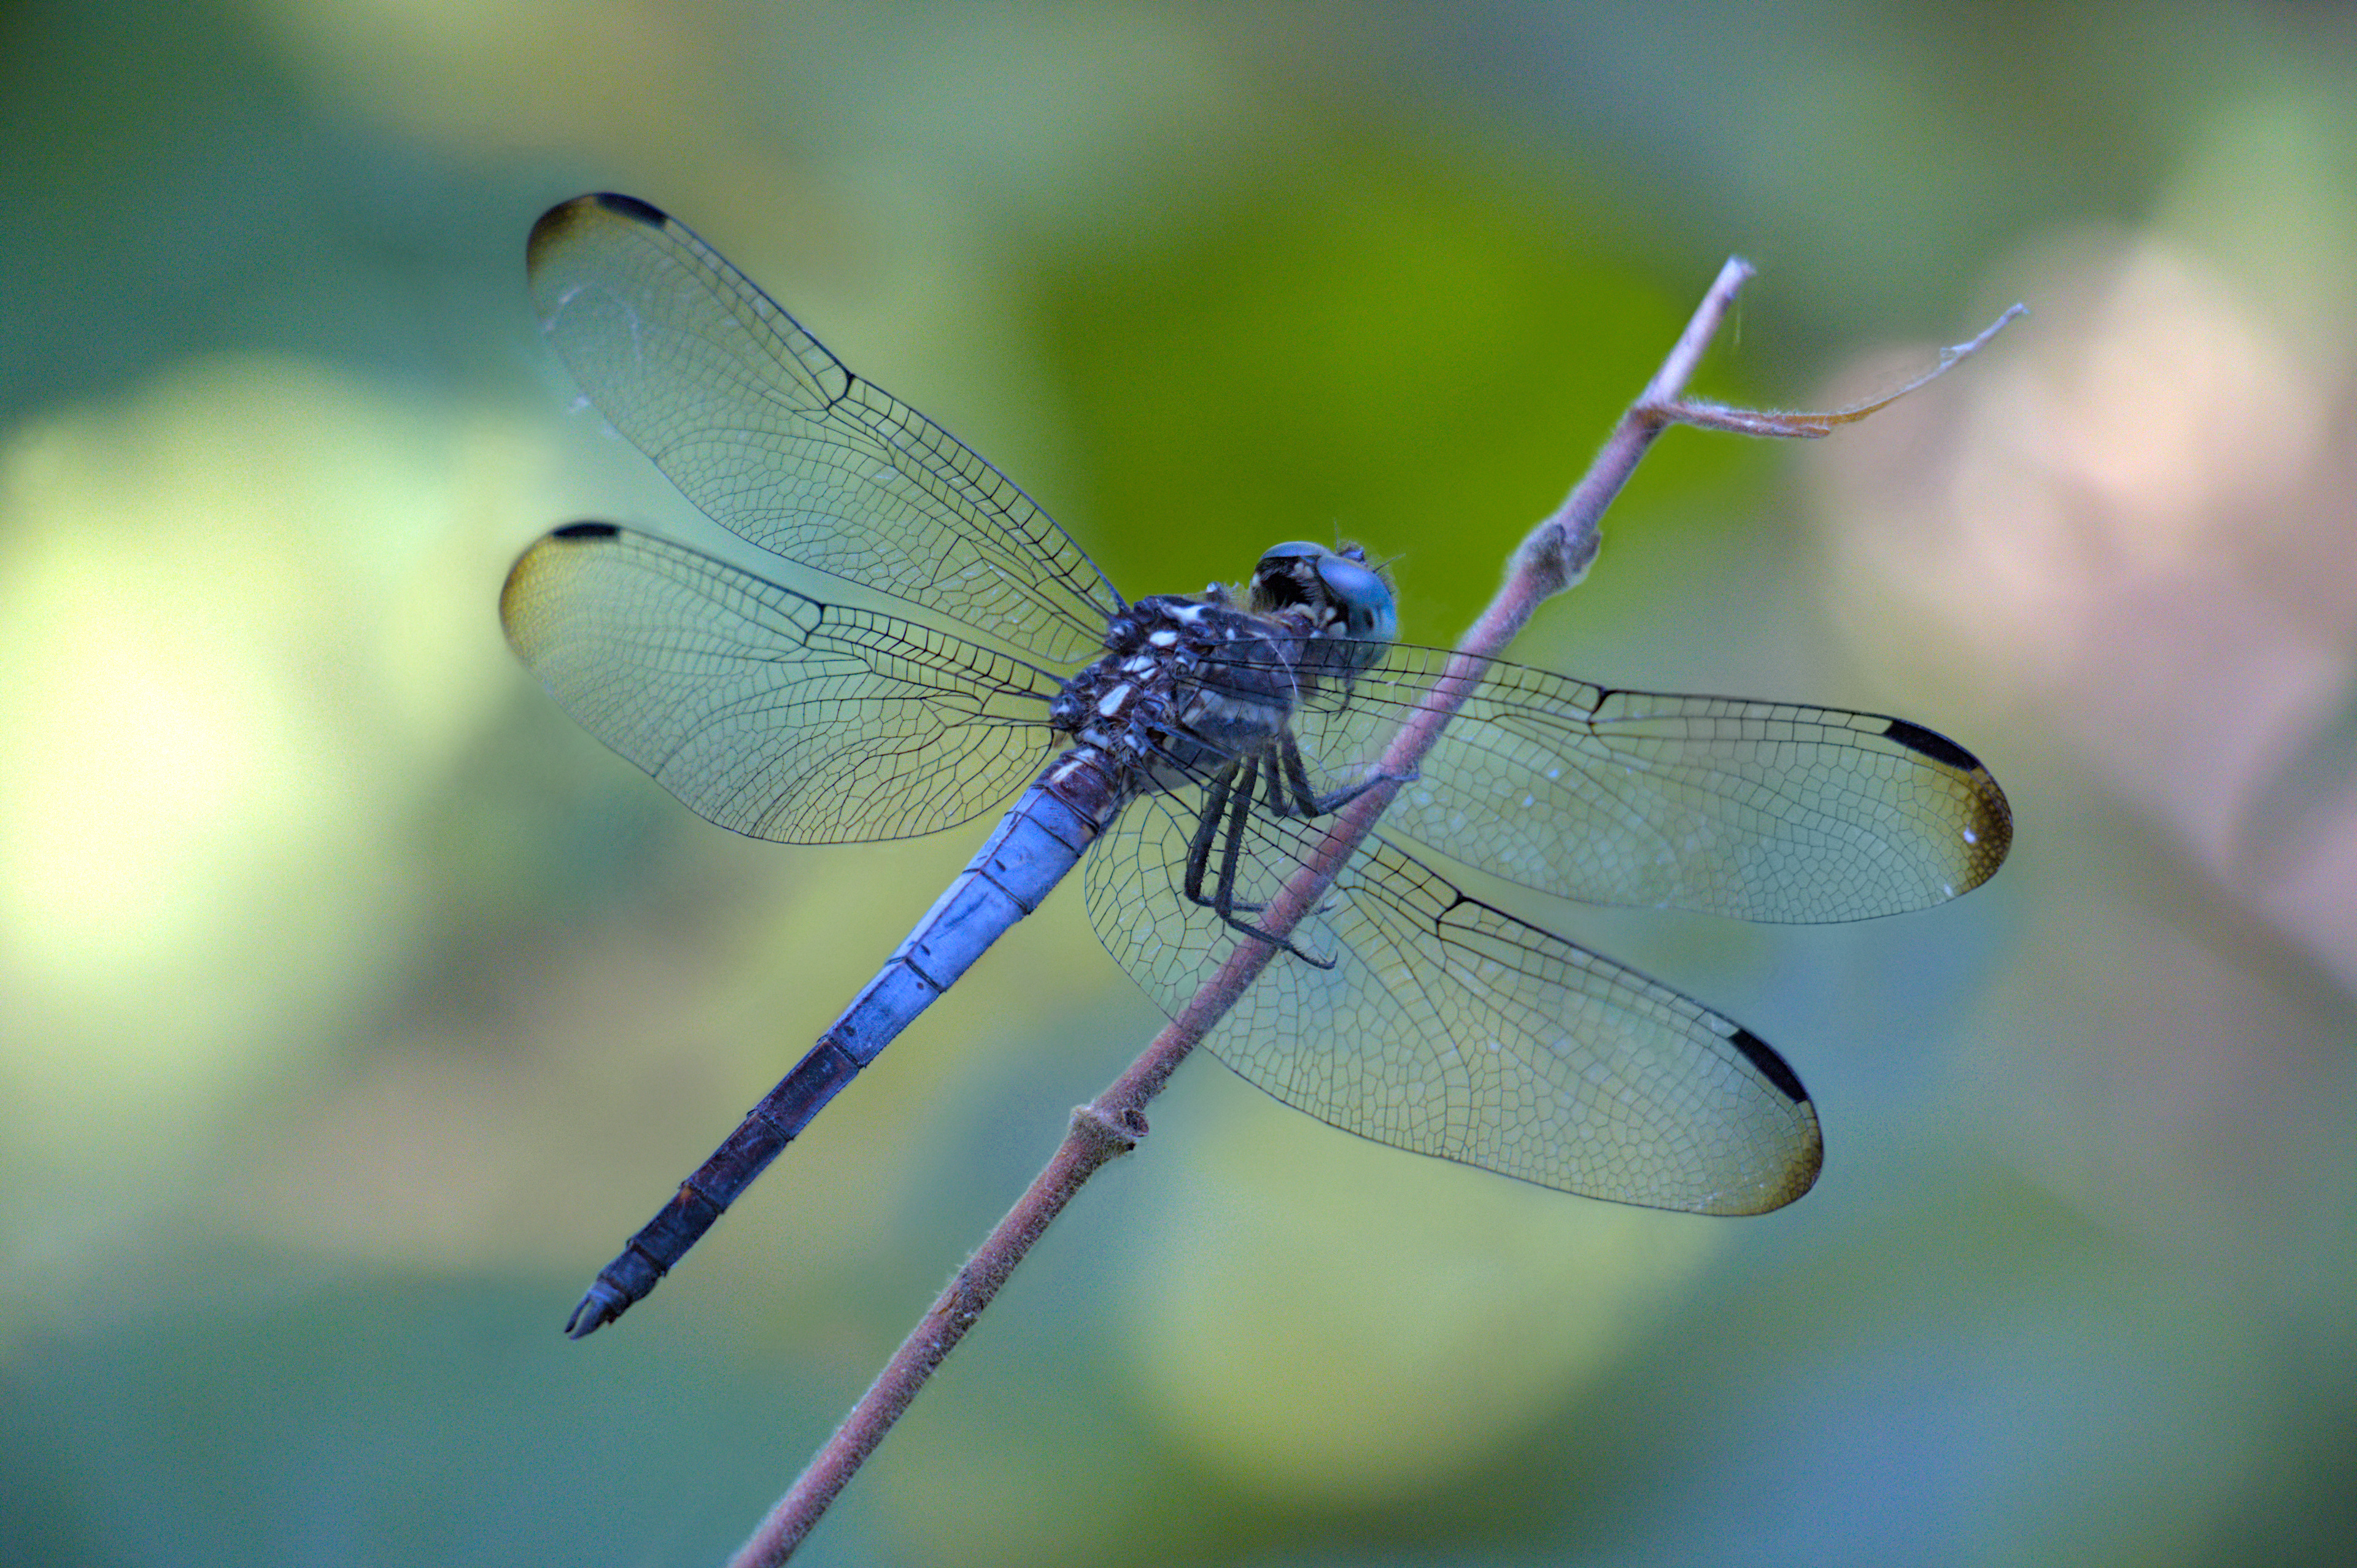
Results
Closing Comments
This project presents a way to do something, not necessarily the preferred way. Each image has its own unique challenges; similar to how the derivation of some mathematical equations requires a "trick" that is algebraically legal, but often not at all obvious, tackling certain parts of an edit might take creative thinking. I won't claim to be a pro-grade editor; I don't have to deal with gigantic digital medium format stills, or raw astronomy data, and I don't have to care about my image making sense frame-to-frame like the compositors that work on 60fps 6k stereoscopic HDR films that have a bajillion visual effects added in. This just happened to be a challenge that I wanted to tackle with the skill level that I have in hopes of pushing that skill a little further. I've also learned that I should probably carry around a blank sheet of paper, since 1.) having a blank background behind that dragonfly and 2.) moving the branch afterwards and getting a shot of just the background would have made this edit much easier.
Join me next time, as I rotoscope Chappie out of every frame of Chappie.
You may also like:
Lessons in Film Digitizing
See more of my photography: Nick's Image Host
I found inspiration for this poem quite close to where this article's image was shot: Among Sunlit Leaves