Installing Microtonal Frets on a Guitar
Background
The tuning we are accustomed to in Western music divides one octave into 12 notes (on a piano, 7 white keys and 5 black keys). Historically, the exact frequency of a given "note" may vary depending on context. You may have heard of "A 440 Hz," a standardization of the A in the fourth octave, "A4," at a frequency of 440 Hz. All other notes would then be intervals relative to this reference pitch.
However, various pitches in the 420-440 Hz range have been used for A4, and various intervals between each note in a scale, the so called "temperament," have also been used. If you have heard of "equal temperament" and "just intonation," you have been exposed to temperaments. Your ear is probably most used to equal temperament, where the spacing between each note in a scale is the same. This contrasts with just intonation, where notes are decided as ratios derived from the fundamental pitch of a certain key. Thus, the exact frequency values of the notes may vary with the key, which is impractical in many contexts.
The expensive and eye-striking "true temperament" guitars that you may have seen, the ones with the colloquial "squiggly frets," are then tempered purely on one key, and will thus be more out of tune when playing a different key when compared to a standard guitar- one that uses 12 tone equal temperament (12 TET). One strength of 12 TET, then, is that it is never quite perfectly in tune, but it's not horribly far off tune for any key.
Approach
My objective here is to convert a basic Ibanez 6 string electric guitar with perfectly normal, unassuming 12 TET frets into a perfectly normal, though moderately more conspicuous, 24 TET-fretted instrument. Since the spacing between frets would become very tight for the higher notes, I've opted to only convert up to the first octave.
I started by reconstructing the fretboard using this utility. I then doubled the calculation method parameter and recorded the fret spacings. Armed with two extra datasets in a spreadsheet- one with the fret positions as measured from the top of the previous fret, and one from the bottom of the next fret, I mocked up the new fret positions with some calipers. This was a rather repetitive task, where I set the calipers with a value, carefully scored the fretboard while dragging the calipers along the previous fret edge, then set the calipers to reference the other adjacent fret, and again scored over the same position. This was ultimately unnecessary, as my lines were quite accurate from just one reference, and the real source of error was from later slotting the frets with a fret slotting handsaw and no jig. I did test one fret insertion before cutting all of the slots, and found I was using the wrong size saw, so that was fun.
With the new fret slots all slotted, I fretted the fret slots with frets by slotting the frets into the freshly-slotted fret slots. This is not particularly difficult to do with a correctly-sized slot, and it is excruciatingly impossible if the slot is >0.5mm off. Without enough space, the fret cannot be forced into position with just a small mallet, but its barbs will wear away at the spots where it needs to anchor. Do it once, and do it right.
By far the absolute worst part of the fretting project is leveling and finishing. This was made about 5 times more bothersome because I had opted to install stainless steel frets, and my original ones are copper with a bit of nickel. This means that the cheap tools I was using very quickly lost efficacy on the hard steel, yet I also had to be careful while leveling because if my pressure was not even, I would accidentally chew away the soft original frets and create a lot of work for myself. Thankfully, the one decent-quality tool I had chosen was an accurate and straight, albeit somewhat short, fret leveling beam.
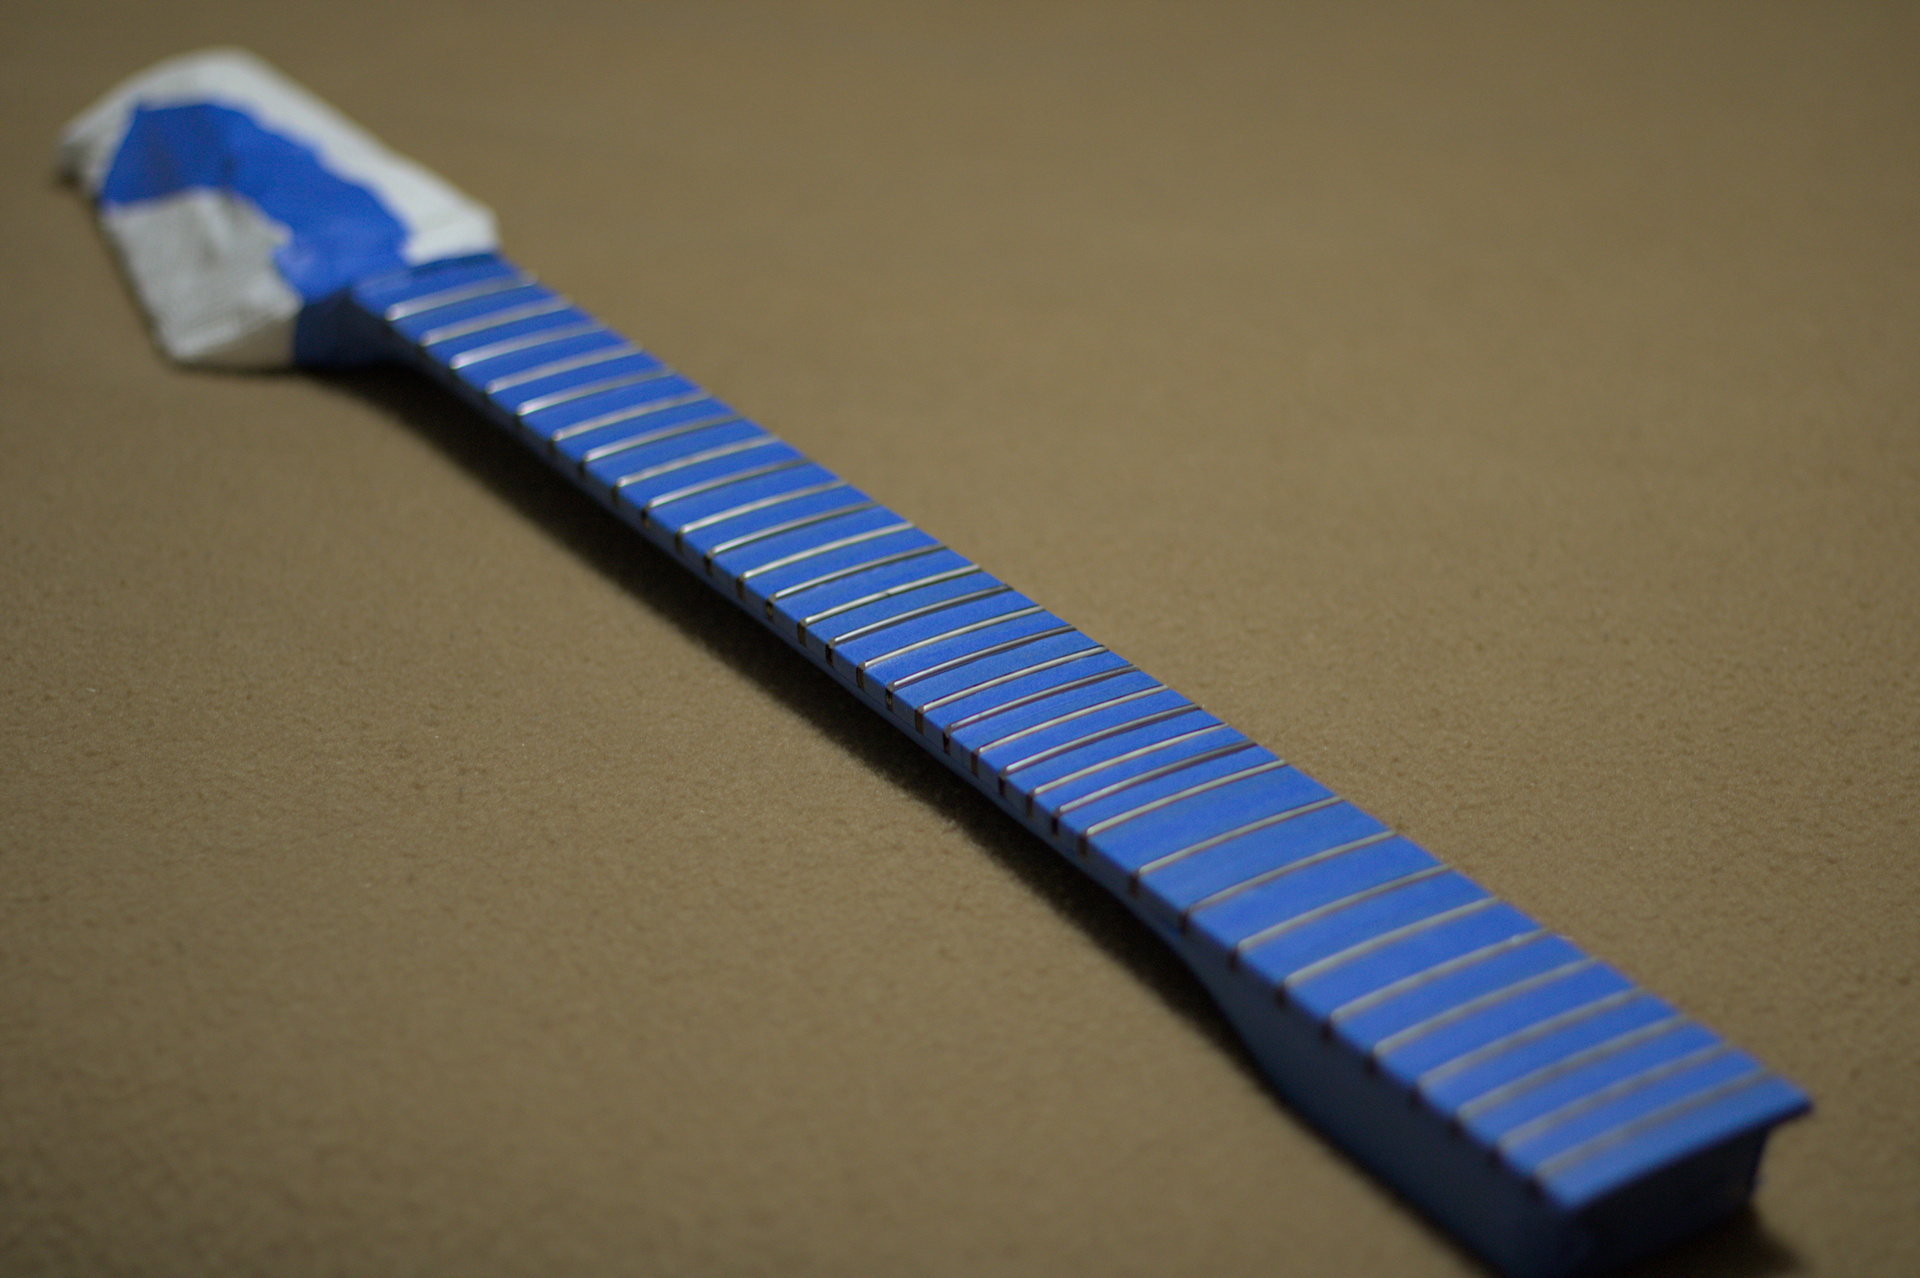
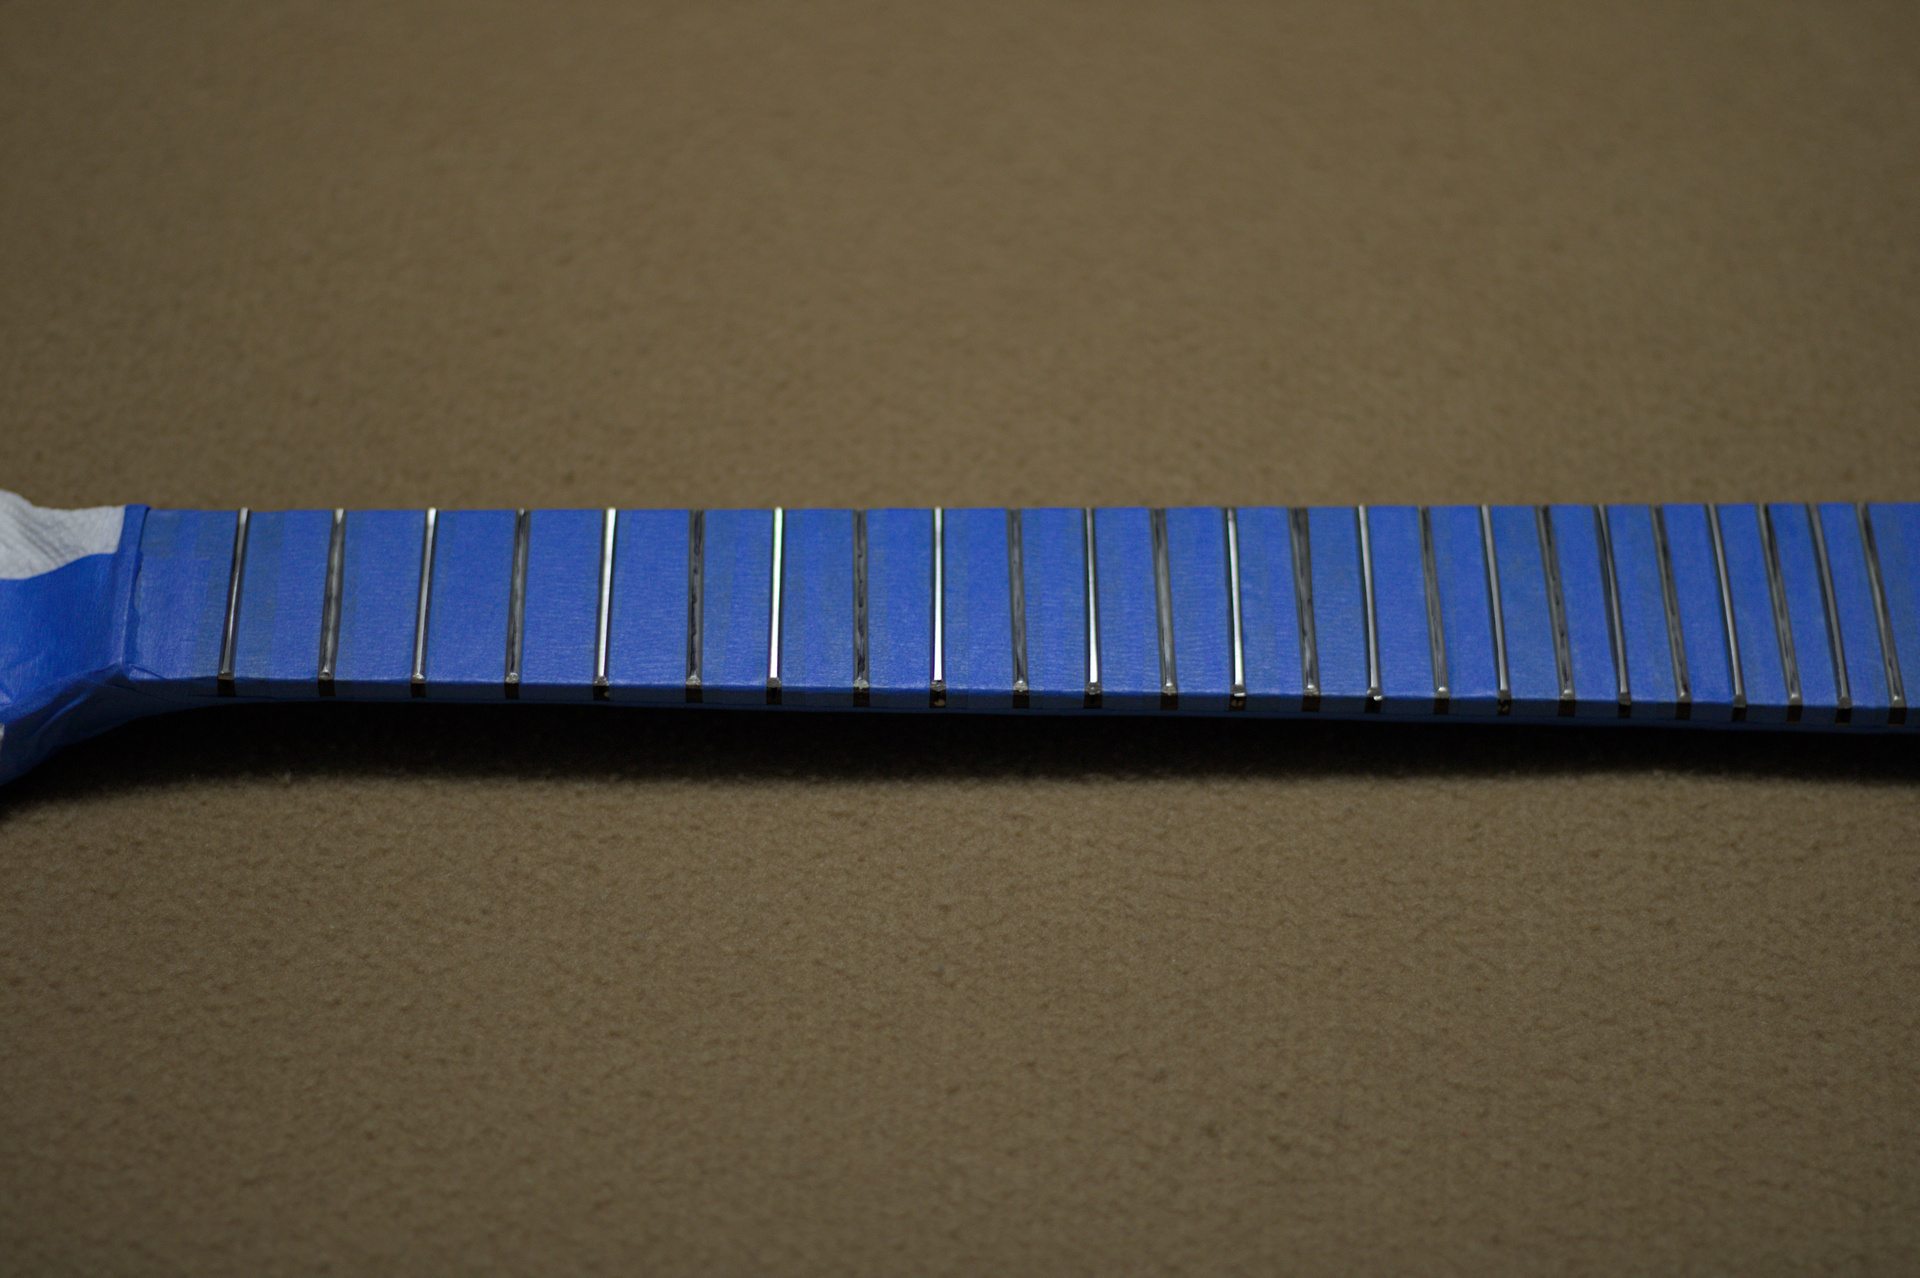
As you can see in these shots with the frets nearly finished up, I removed the neck and carefully masked off the board and headstock. At no point was I working on the instrument with the neck still attached, and I tried to keep the neck supported as I worked on it. The fret finishing took a lot of manual work, but ultimately I only used these tools: fret saw, fret crowning file, triangular file, fret leveling beam with adhesive-back sandpaper, and several fine grades of polishing paper. I used pre-cut frets, but if I had bought a continuous wire, I'd've needed tools for snipping and nipping.
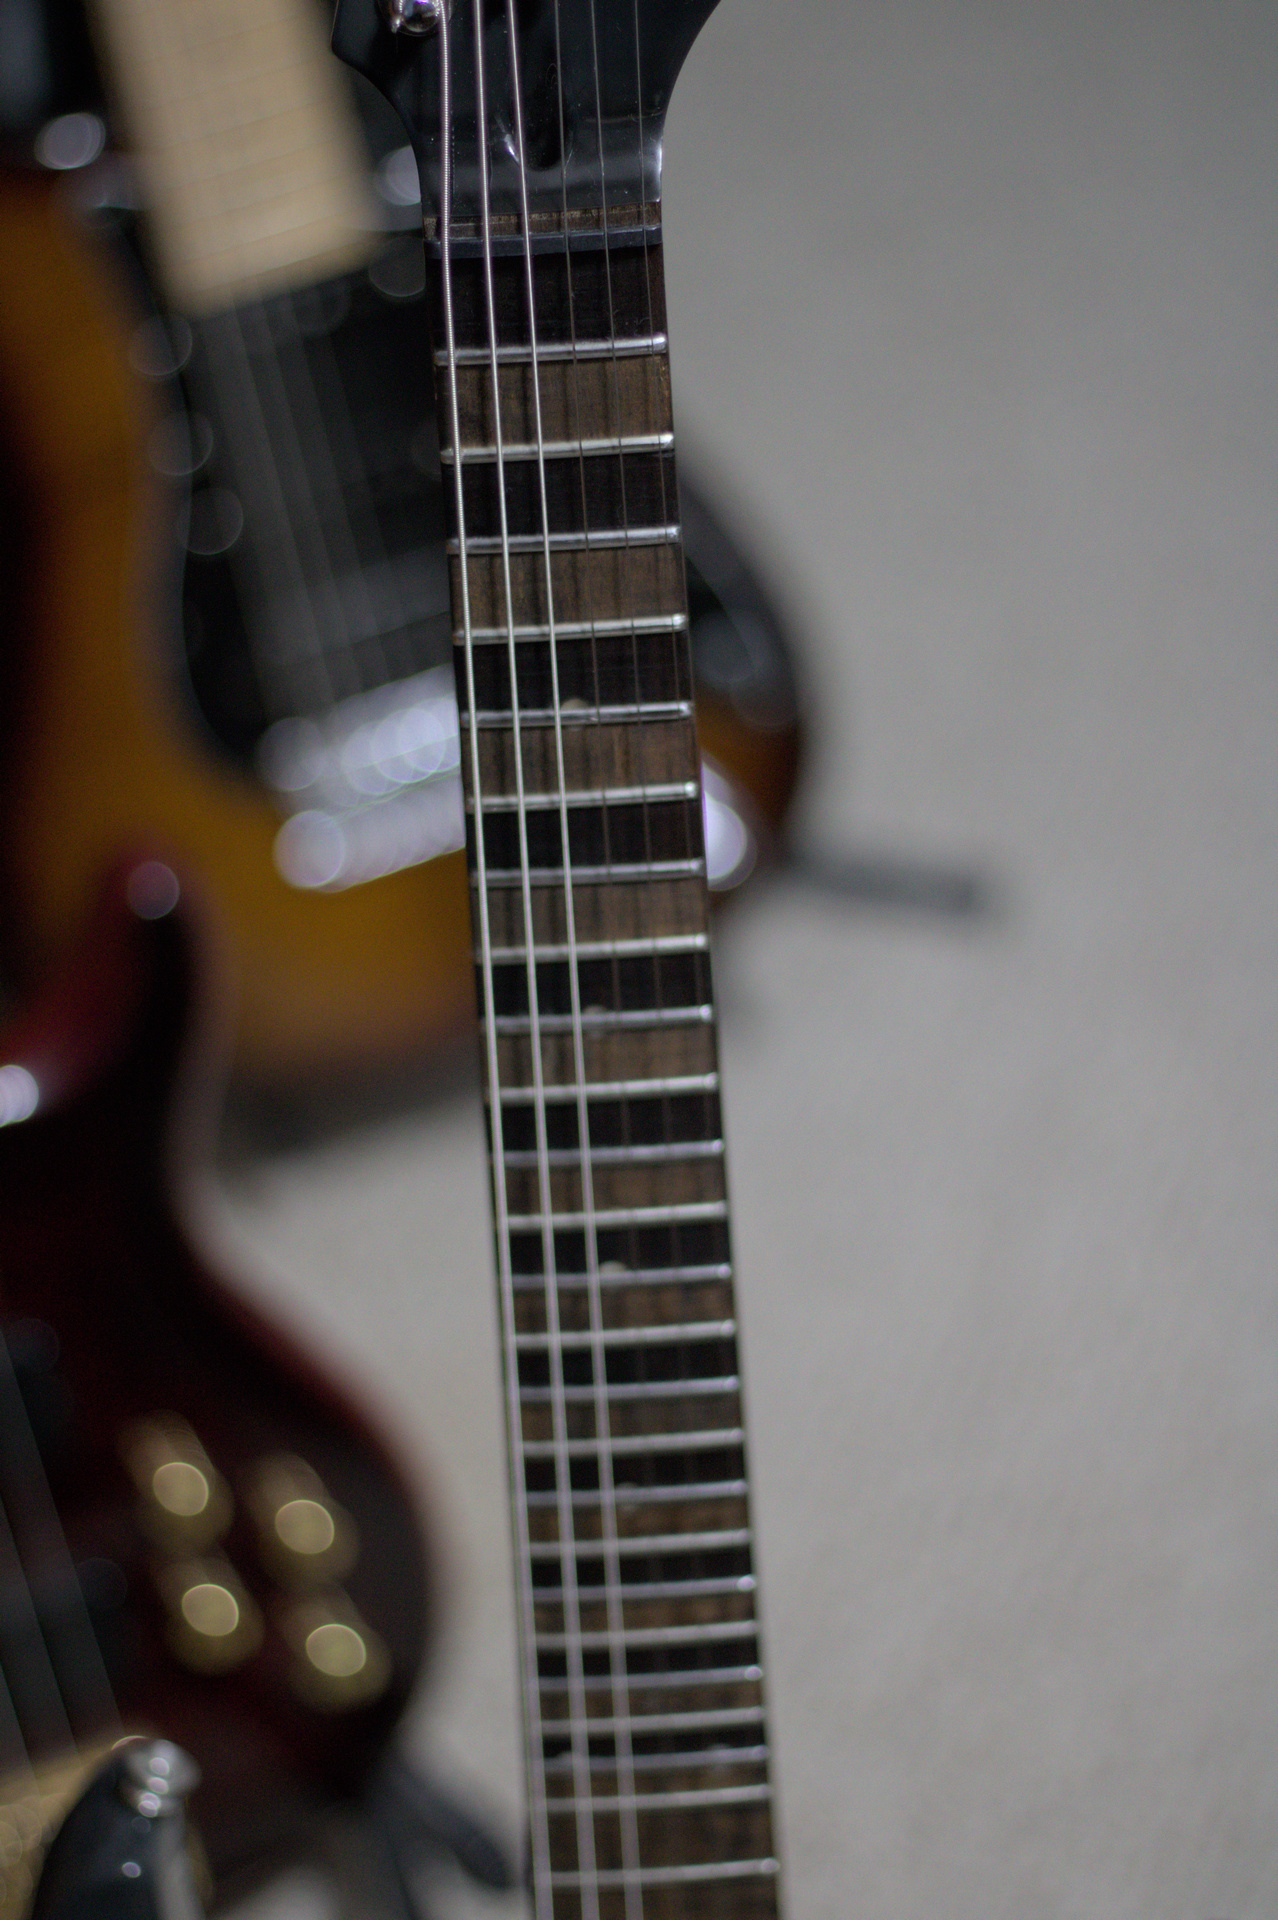
For differentiating the extra frets from the originals, I stained the fretboard in each space above the new frets. It's still visually very confusing to play the instrument, but it helps a bit. Mainly I can tell the frets apart (besides from the pitch) because they shine differently and are more resonant/feel harder than the cheap stock frets.

There you have it. Actually not a super bad project- probably too terrifying for most people to set their minds on doing to their precious instruments, but simple to execute. I would have this suggestion for anyone wanting to do this project: if you are keeping the original frets, please match the wire material, but if you are upgrading to stainless or opting for mandolin frets, go ahead and mark your new fret positions, then pull everything out, smooth the board a bit, and start fresh. Consider swapping the nut and leaving the top action ~.6mm higher, or relocating the nut and zero-fretting. My instrument has buzz in a couple spots, which I suppose is understandable for this being my first major guitar modification of any sort (previously, all I'd done was move strap buttons).
Sound demos will be up whenever I get around to writing a piece using the microtonal frets. The pickups in this thing sound like fizzy snail guts in a cheap cookie tin, so perhaps some electronic work is due first.
Nick